this is just another diy blog written by a mother of two who likes to craft, sew, cook and travel - thanks for stopping by
Showing posts with label thermal batting. Show all posts

Wednesday, June 26, 2013

Insulated Preschool Lunch Box

A long time ago, when we first tried to introduce our little boy to daycare, I got him a cute lunch box. Now, that he finally uses it, I had to find out that it is way too small. It fits a Tupperware but that´s it. No water bottle or anything else. 

So, I looked at my favorite online place for inspiration (hmmm, which one could that be?) and found a tutorial for an insulated lunch box that I used as my base, and I went from there.


I started by measuring my Tupperware and water bottle and determined the size of my lunch box (23 x 8 x 42 cm). By adding a 1 cm seam allowance I came to my minimum fabric measurements: width 23+8+1+1=33 cm, height: 42+42+8+1+1=94 cm. 

I used oil cloth/laminated cotton for the outside and lining fabric with an thermal batting in between. The thermal batting was a left over from this previous project


All 3 fabric/batting pieces had the same rectangular size being 35 x 95 cm (14 x 37 inches) - I rounded the measurements up slightly to add some room.


The next step was to fold the lining fabric in half lengthwise right sides together and close the side seams.  


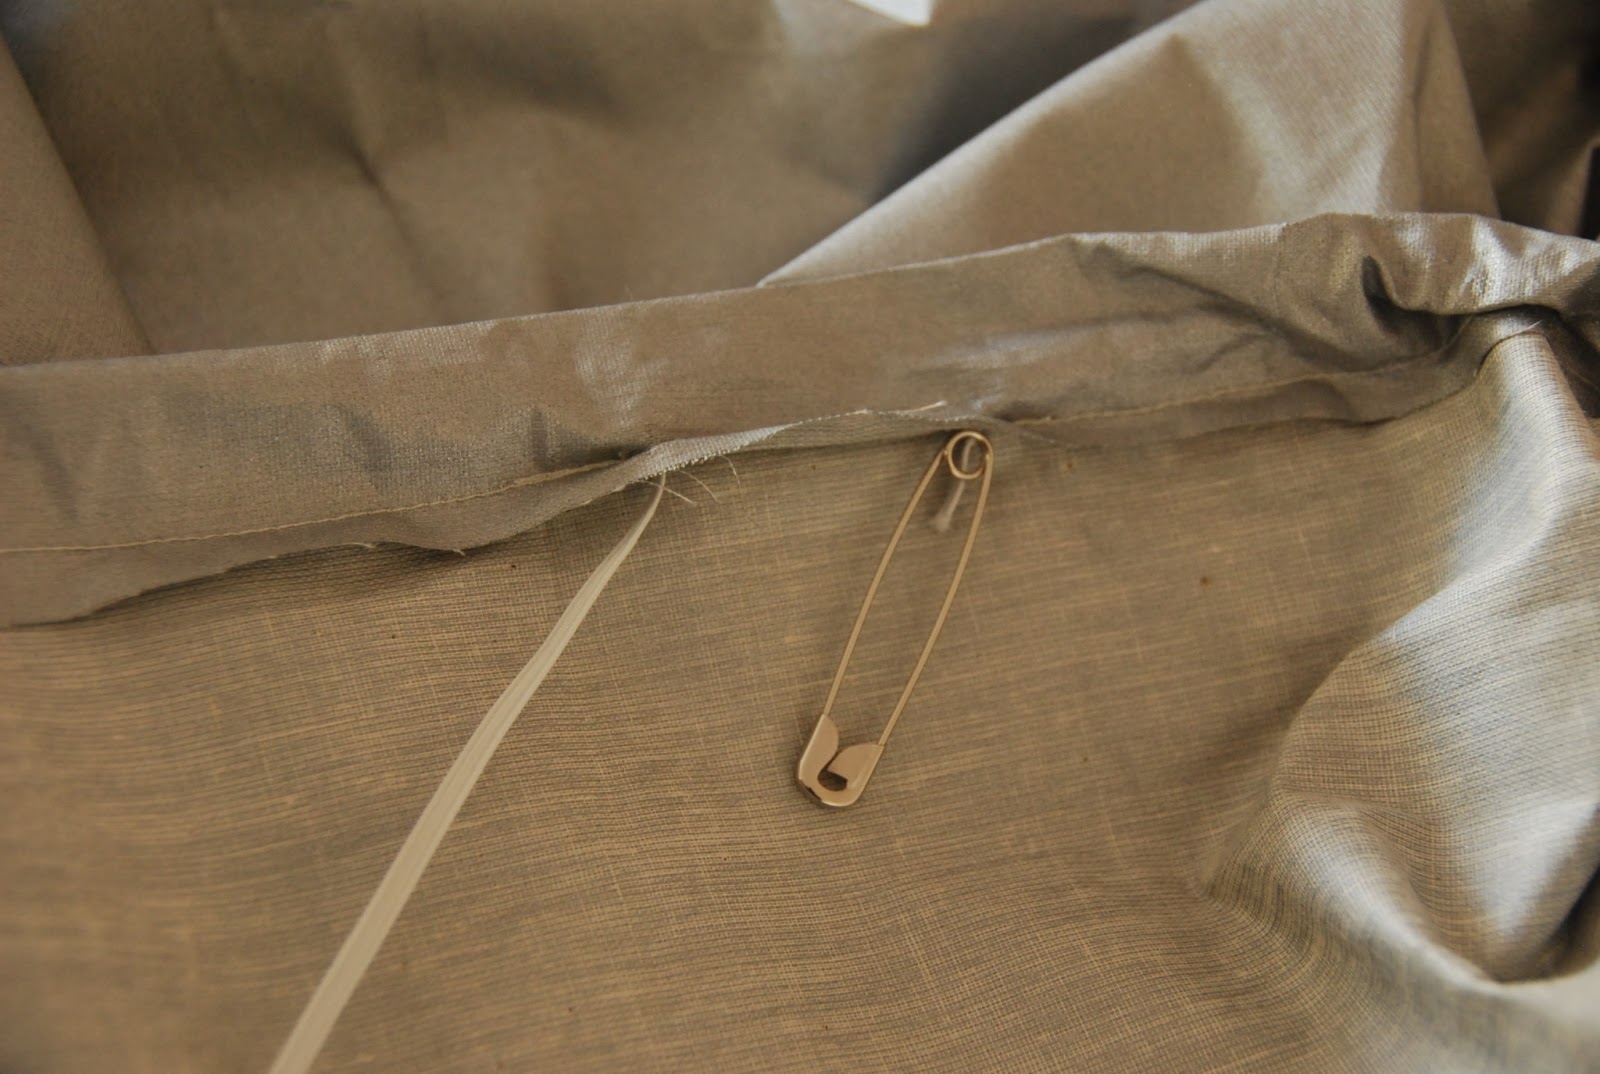
To form the bottom of the lunch box, I marked two squares at the bottom corners, ensuring that my 23 cm width are between those two squares. By pulling the marking lines together at the corners I could stitch down the line of each corner (the tutorial I followed roughly used bobby pins to hold the oil cloth in place without pinning holes in the fabric - genius!). 


After trimming the corners I put my Tupperware and water bottle in the lining to test the size - perfect!


After finishing the lining, I did the same for the outer fabric with the batting on top. In addition, I added a piece of 1 inch wide elastic before closing the side seams.


Almost done! Here you can see both bags together with bobby pins at the top. You can also see why I added the elastic.  


The very last step was to add bias tape to close the bag top and to attach lining and outer fabric.


Done!


Now, our little guy can take everything he needs with him to preschool!

Sunday, January 20, 2013

Make Your Own Ironing Cover (With Batting)

Who would have known that the first sewing project that I´ve ever made for my husband would be one of the first project of 2013? (You have to know that I am rarely doing any ironing around here - only when a sewing project explicitly calls for it)

We had an old ironing board which was ready to get recycled because not only the cover but especially the batting underneath was done (as you can clearly see). 


We quickly bought a new ironing board because it seemed impossible to get a new cover for our european sized ironing board (who would have known...). Well, we didn´t get a fancy one and probably got the worst there is. Luckily this old guy was still in the garage, and when I couldn´t stand the noise of the new one any longer, I decided to make a new cover myself. 

Most tutorial you can find online only deal with a pretty cover that comes on top of your finished ironing board but not with everything underneath. So I had to come up with my own solution this time. 

And here is what I did: 

The hardest part was to get rid of the old batting that was stuck inside the grid.

For the new batting and cover I got regular batting, Insul-Bright and a heat resistant fabric.


 First, I traced the shape of the board onto the batting and cut along the line.

Same for the Insul-Bright.

To prevent both batting layers from slipping away I roughly sewed them together.

 
After that, I traced and cut out the heat resistant fabric with a distance of 4 inches (10 cm) from the edge of the board.

Next, I fold 1 inch (2.5 cm) inside to make a tunnel for the elastic to go through.

 Making sure that all creases point into the same direction to allow the elastic to go through easily.

 
When sewing around the edge, there has to be an opening of at least 1 inch to pull the elastic through.

Here you can see all three layers.

And this is how it looked liked after pulling the elastic together. 

 Voilá!

And maybe one day I´ll find the perfect fabric (and time) to make one of these pretty covers you find all over the web.


Related Posts Plugin for WordPress, Blogger...