So, I looked at my favorite online place for inspiration (hmmm, which one could that be?) and found a tutorial for an insulated lunch box that I used as my base, and I went from there.


I started by measuring my Tupperware and water bottle and determined the size of my lunch box (23 x 8 x 42 cm). By adding a 1 cm seam allowance I came to my minimum fabric measurements: width 23+8+1+1=33 cm, height: 42+42+8+1+1=94 cm.
I used oil cloth/laminated cotton for the outside and lining fabric with an thermal batting in between. The thermal batting was a left over from this previous project.
All 3 fabric/batting pieces had the same rectangular size being 35 x 95 cm (14 x 37 inches) - I rounded the measurements up slightly to add some room.

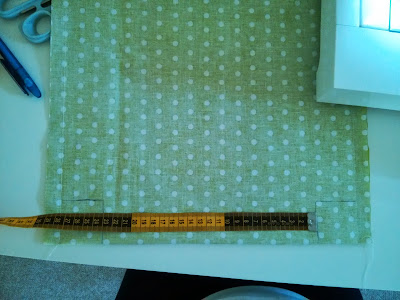
To form the bottom of the lunch box, I marked two squares at the bottom corners, ensuring that my 23 cm width are between those two squares. By pulling the marking lines together at the corners I could stitch down the line of each corner (the tutorial I followed roughly used bobby pins to hold the oil cloth in place without pinning holes in the fabric - genius!).
After trimming the corners I put my Tupperware and water bottle in the lining to test the size - perfect!
After finishing the lining, I did the same for the outer fabric with the batting on top. In addition, I added a piece of 1 inch wide elastic before closing the side seams.
Almost done! Here you can see both bags together with bobby pins at the top. You can also see why I added the elastic.
The very last step was to add bias tape to close the bag top and to attach lining and outer fabric.
Done!

Now, our little guy can take everything he needs with him to preschool!


No comments:
Post a Comment