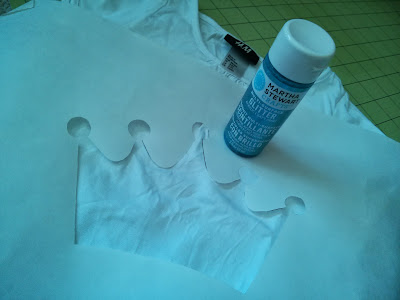
I was looking for a way to add images to plain t-shirts for a while now. I´ve tried screen printing and also thought about iron on vinyl.
And then, I came across another Pinterest project - Freezer Paper stencils! It sounded easy enough and I already had some Martha Steward Crafts Multi-Surface Acrylic Paint which works for fabric as well.
And here is how:
First, print you designs and transfer them onto Freezer Paper (plastic coated side down).
With a craft knife, cut out your design.
These were my color choices.
And here is what I chose for my first two t-shirts.
The magic about the Freezer Paper is, that you can just iron it on your shirt! Please make sure, that the plastic coated side (that is the shiny side) is facing down toward your shirt. You can add another layer of Freezer Paper inside your shirt, at the backside of your design or you can put a piece of cardboard inside.
Now, you can start brushing your paint onto the fabric. I chose to repeat that one more time after the first paint was dry.
After letting everything dry over night you can remove the paper. You might want to iron over your t-shirt with a protective fabric layer on top.
And this is my result! Very nice looking, right?!


No comments:
Post a Comment